How to link and open files with custom extensions with Electron for Windows
Tristan Pouliquen3 min read

Following our introduction to the Electron framework and our demo using Angular with Electron, the Electron experience continues!
In this article dedicated to the Windows platform, we will expand on how to associate a file extension to your Electron application and how to import a data store from a file after double-clicking on it.
How to set file associations to your Electron app on Windows
Previously, we have explained how to build an app for a Windows platform with electron-builder.
To define your own file association using the same builder tool, you must create a custom NSIS installation script following the steps below.
Reminder: Nullsoft Scriptable Install System (NSIS) is a script-driven Installer authoring tool for Microsoft Windows.
First, copy the Electron builder’s one installer.nsi.tpl and include the [file association script - FileAssociation.nsh](http://nsis.sourceforge.net/File_Association) from http://nsis.sourceforge.net
Here is our folder tree:
myapp
└── nsi-template
    ├── include
    │   └── FileAssociation.nsh
    └── installer.nsi.tpl
Then, copy the default Electron Builder’s installer.nsi.tpl in your template and add the lines below:
# modification: add file association script
# projectNsiTemplateDir is replaced by a gulp task: nsi-template
########
!addincludedir "@projectNsiTemplateDir"
!include "FileAssociation.nsh"
########

...
# default section start
Section
 ...
  # modification: define file association
  ########
  ${registerExtension} "$INSTDIR\${APP_NAME}.exe" "@projectExtension" "@projectFileType"
  ########
...
You can directly replace @projectNsiTemplateDir (absolute path), @projectExtension and @projectFileType by your own params or use the gulp task below:
var constant = {
    cwd: process.env.INIT_CWD || '',
    nsiTemplate: './nsi-template/include/',
    fileAssociation: {
        extension: '.myapp',
        fileType: 'My Awesome App File'
    }
};

// task to generate nsi-template for windows
gulp.task('nsi-template', function () {
    var projectIncludeDir = path.join(constant.cwd, constant.nsiTemplate);
    return gulp.src('nsi-template/installer.nsi.tpl')
        .pipe(replace('@projectNsiTemplateDir', projectIncludeDir))
        .pipe(replace('@projectExtension', constant.fileAssociation.extension))
        .pipe(replace('@projectFileType', constant.fileAssociation.fileType))
        .pipe(gulp.dest('dist/nsi-template/win'));
});
This task requires gulp and gulp-replace node modules.
Then, you have to update the electron builder config:
  "win" : {
    "title" : "my-awesome-app",
    "icon" : "assets/win/icon.ico",
    "nsiTemplate" : "dist/nsi-template/win/installer.nsi.tpl"
  }
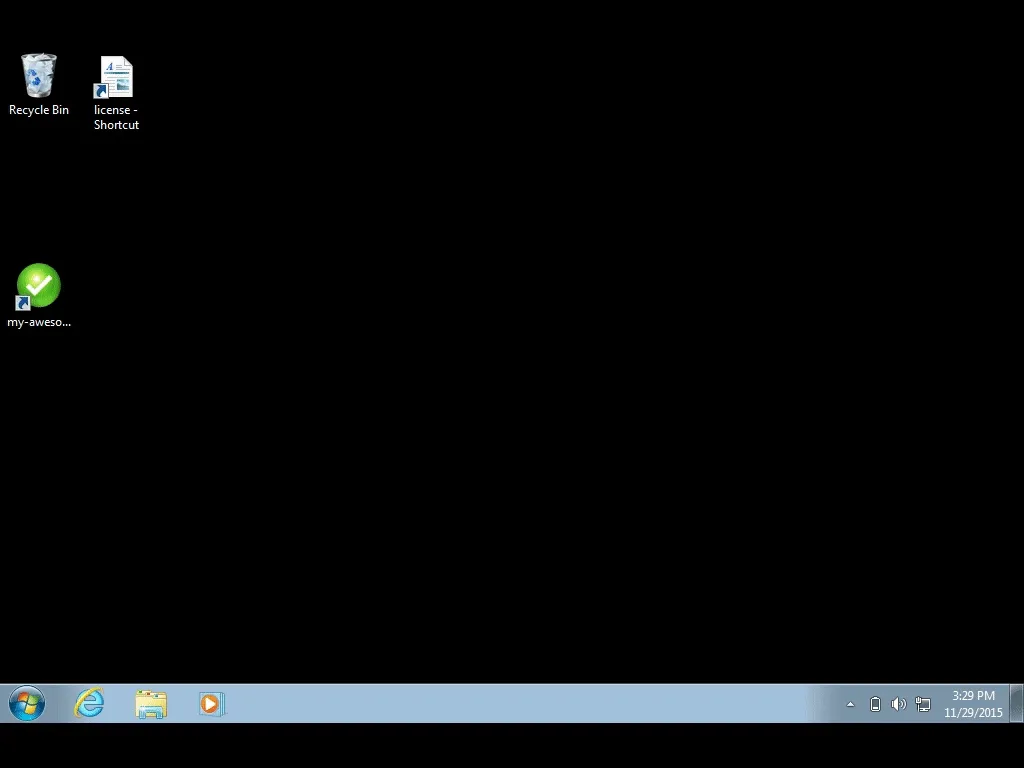
Here is the result:

Linking custom extensions with Electron for Windows should be natively available in electron-builder soon, so stay tuned.
How to configure your app to open linked files in Windows
On Windows, you have to parse process.argv to get the filepath.
Then, you can use the IPC module to handle messages from the renderer process (web page) and retrieve a data store from a file.
This is how we did it:
In the main process:
var ipc = require('ipc');
var fs = require('fs');

// read the file and send data to the render process
ipc.on('get-file-data', function(event) {
  var data = null;
  if (process.platform == 'win32' && process.argv.length >= 2) {
    var openFilePath = process.argv[1];
    data = fs.readFileSync(openFilePath, 'utf-8');
  }
  event.returnValue = data;
});
In the renderer process:
<script>
  // we use ipc to communicate with the main process
  var ipc = require('ipc');
  var data = ipc.sendSync('get-file-data');
  if (data ===  null) {
    document.write("There is no file");
  } else {
    document.write(data);
  }
</script>
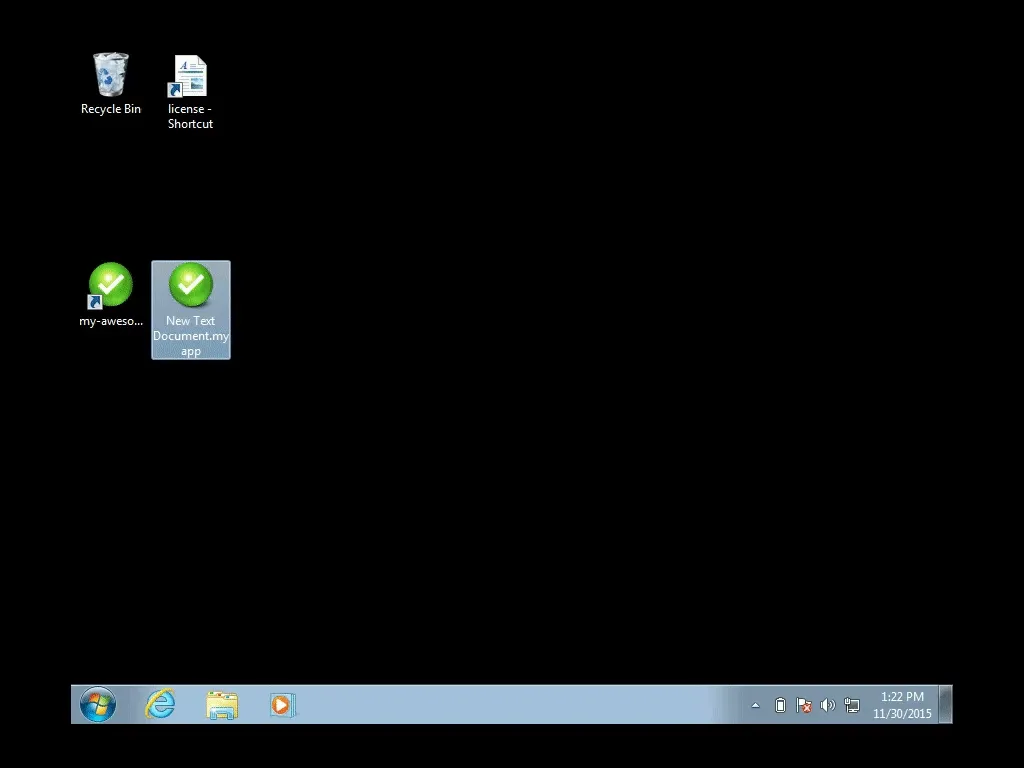
Here is the result:

Conclusion
Congratulations! Now you know how to associate a file extension to your Electron application.
If this article interested you and you want to see more of Electron in action, check out our electron-boilerplate repository.
One more thing, the next article about Electron is coming up soon so stick around!
[joinus]
