Prevent Regressions with Visual Testing: An Example with Percy
Robin Carrez7 min read
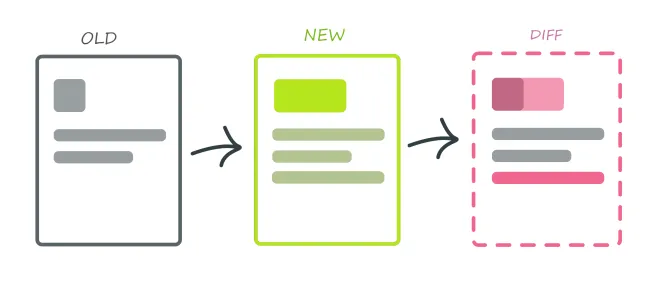
Visual Regression Testing? What is it?
At first, it was a mystery for me too. But this testing method saved me from breaking my application many times already.
I discovered the Visual Regression Testing method while working on a project. In the beginning, it was only a failing job on my pipeline, but after many times using it, I found it helpful to prevent regressions on the application I was working on.
What is Visual Regression Testing?
Visual Regression Testing is a way to check if you created updates on the existing pages of your application during your development. Of course, we most of the time want to add changes to our application, but sometimes we can modify what was already there without wanting it, like when we update global style, or when we remove some code that we thought was unused.
For example, I’m working on an application with two pages: one for the Pokemon list and the other one for Pokemon details.
| Pokemon list | Pokemon details |
|---|---|
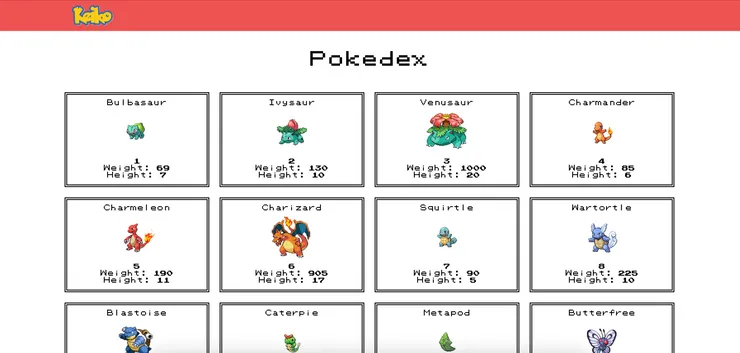 | 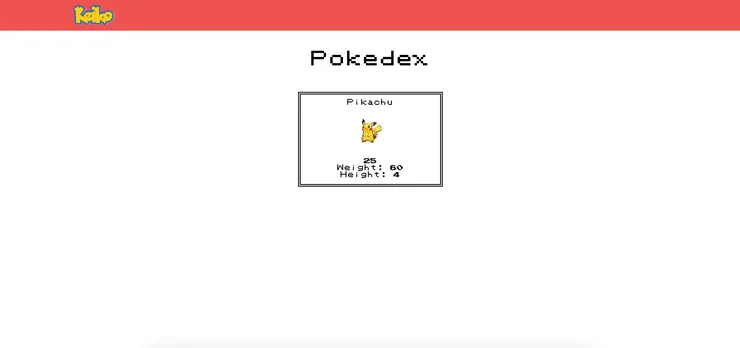 |
I want to increase the size of the Pokemon details card to take more place on the page.
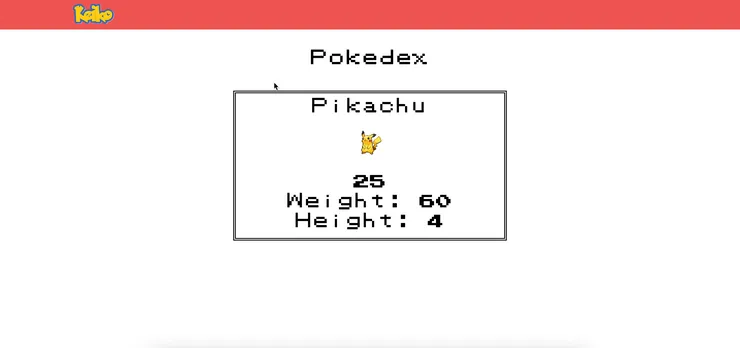
But I forgot both of my pages use the same component, so I end up with an unwanted change for my Pokemon list.

Just like this, I introduced an unwanted modification to my application.
So, how does Visual Regression Testing work? It’s really simple: the goal is to take a screenshot of our live application and another one of our current developments and to compare them to check if there are any differences.

There are 4 types of visual regression testing :
- Manual testing: this is the most common type of visual regression testing, it’s when a tester or the developer navigates the application to check if there are any updates. The advantage of this type is that we can simulate the comportment of the user on the application, but it takes a lot of time to make those tests on the whole application.
- DOM testing: in this case, we will take snapshots of the code, so we will only compare the structure of our application and not the visual itself. It can lead to failed validations if we update the styles of the pages.
- Pixel by pixel: it consists of taking screenshots of the application and comparing them pixel by pixel. It will find all the differences between the live app and the one in development. This can also lead to false positives, in opposition to the visual AI testing.
- Visual AI using a tool that simulates how a user sees the application, we can compare the live version and the development version of our application. Using an AI will prevent false positives, like longer text, or a lightly bigger margin.
So no matter what kind of Visual Regression Testing you are using, it is always very useful to prevent sending unwanted changes in production.
It’s a good practice to use a tool to prevent visual regressions because as the application becomes bigger we need more and more time to test it entirely manually, and will have more chances to skip a difference. On the project where I discovered this type of test, Percy is used.
What is Percy?
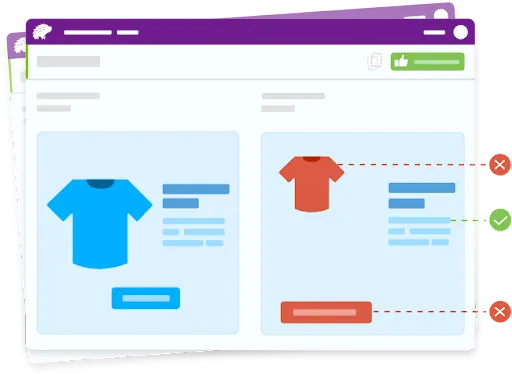
Percy is a SaaS visual testing tool, using the pixel by pixel differentiation to find all the updates on our application. This tool allows us to check the differences on multiple internet explorers like Chrome and Firefox, and also on multiple supports like smartphones or tablets.
Percy allows the users to do a simplified review due to its merge requests integration, slack integration, and intuitive interface. It can be used with multiple testing tools and on different CI tools, to make it easier to integrate into our development workflow.
How to use Percy in your tests?
Nothing better than a good example to explain it, so I created a small project: a percy example, using React and Cypress.
Percy can be used with Cypress or Puppeteer, making it usable for React, Vue, or Angular. It can also be directly integrated into Ember or Storybook.
To use it, we just need to import the required package for the tool we are using.
package.json
{
  ...
  "devDependencies": {
    "cypress": "^10.8.0",
    "@percy/cli": "^1.10.0",
    "@percy/cypress": "^3.1.2"
  }
}
Then add a simple line in your test code (cy.percySnapshot() for example for Cypress). Every time we use this line of code, it sends an HTTP Request to the Percy server to save the new snapshot.
test file
describe("<PokemonList>", () => {
  it("mounts", () => {
    // choose the screen size
    cy.viewport(1024, 768);
    // display the component
    cy.mount(<PokemonList pokemonList={data} />);
    // take a screenshot
    cy.percySnapshot();
  });
});
Percy in the CI to detect visual changes
Finally, what we want is to block our pipeline if a difference is found between the live application and the one in development.
Percy supports many CI tools such as Gitlab, Github, Jenkins, and Travis.
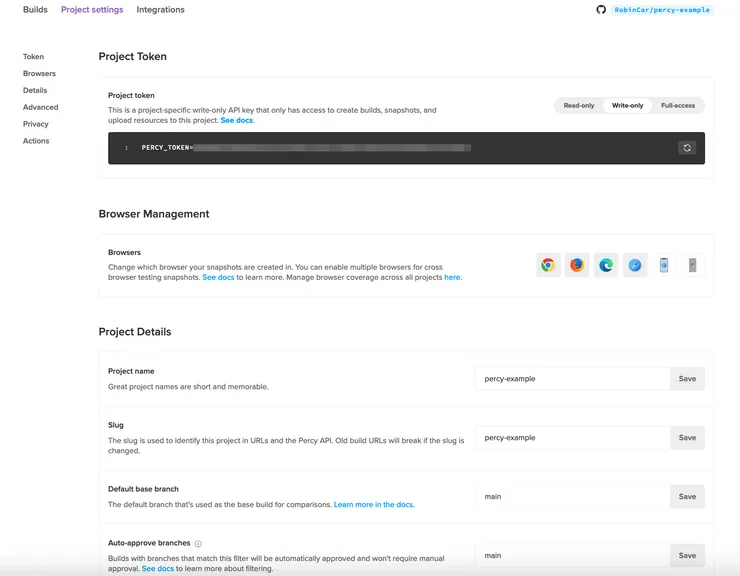
To launch the job, we just need to execute the tests with the Percy command line and provide the PERCY_TOKEN (that we can find in the settings of the Percy application) so the Percy server knows which project we are working on (the token can be stored in the secrets of the repository).
github/ci.yml
name: ci
on: [push]
jobs:
  tests-run:
    runs-on: ubuntu-20.04
    steps:
      - name: Checkout
        uses: actions/checkout@v2
      - name: Install dependencies
        run: npm ci
      - name: Percy Tests
        run: npx percy exec -- cypress run --component
        env:
          PERCY_TOKEN: ${{ secrets.PERCY_TOKEN }}
Afterward, we just need to configure Percy to link it to Github (or another tool) and set the default branch.
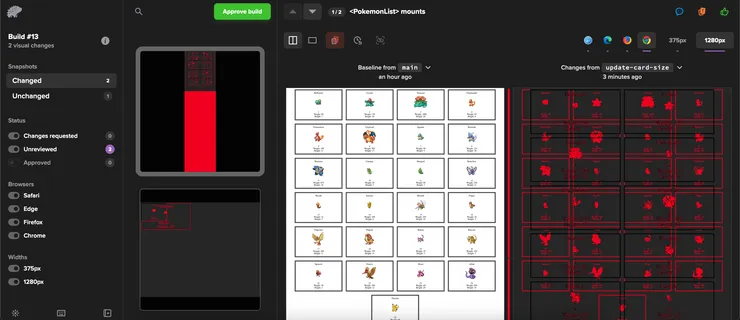
Now, every time we will create a Pull Request, it will launch the Percy job to verify if it finds any differences. If there are any changes, the job will fail until a user approves the updates on the Percy application.
After a few months of using Visual Regression Testing
Percy is not cheap. The job is launched each time someone pushes a commit on a pull request. For example for an application with 100 screenshots and around 40 developers, it can cost around 2500€ per month.
It would be better, to reduce the cost, to use Percy mostly for screenshots of the full application and not for components. Also, another solution could be to trigger the Percy job manually instead of triggering it automatically, and block the merge if the job hasn’t been launched.
And as I said earlier, Percy uses Pixel by Pixel diff, so it can have false positives, but it can be configured to be more flexible on the differences.
Also, Percy is a SaaS so it can not be deployed on a private cloud or on-premise.
But Percy is pretty easy to use and provides many configurations to help you test your application as much as possible. For example, you can select different screen sizes, add CSS to your page, or even take the whole page even if there is a scroll.
On the project I worked on, this tool helped prevent some regressions before merging our developments on the live application.
“I’m glad we added a Percy snapshot here, it stopped me before I did something dumb.” — Sulidi, Developer from Sipios
And if it’s not enough to convince you, many companies use it in their stacks, such as Shopify, Spotify, and Sentry.
To go further
To learn more on how to use Percy, Percy’s tutorials are very helpful.
Many other tools of Visual Regression Testing exist, like Jest which uses DOM-based differentiation, Chromatic which is developed by and for Storybook, and else Applitools which uses a visual AI.
If you want to learn more about Percy’s competitors, this article compares multiple visual regression testing tools.


