Blender Python Starting Guide
Félix5 min read

If you come from the Python development world, developing in Blender can feel a bit rough at first glance because the Blender API, bpy, is not a python package you can install with pip. To access it, you must use the Python env included in Blender and it can be difficult to interact with it from outside Blender from your IDE with your favorite tools.
For example, some tools we like to use at Theodo are Black for formatting, isort to sort imports, Pylint as linter, mypy for typing and pytest for testing.
How to get a seamless development experience when coding Blender modules?
In this article, we will see the different development environments you can use if you want to interact with Blender: the integrated Blender tools, the building process of bpy from source code and finally the development setup of your IDE to code with Blender.
Disclaimer: This has been tested with Blender 2.93, the current LTS Version. The behavior should be the same for the more recent versions (leave a comment if that is not the case).
Before you start: Essential Blender setup
First, let’s enable two options in Blender:
-
In
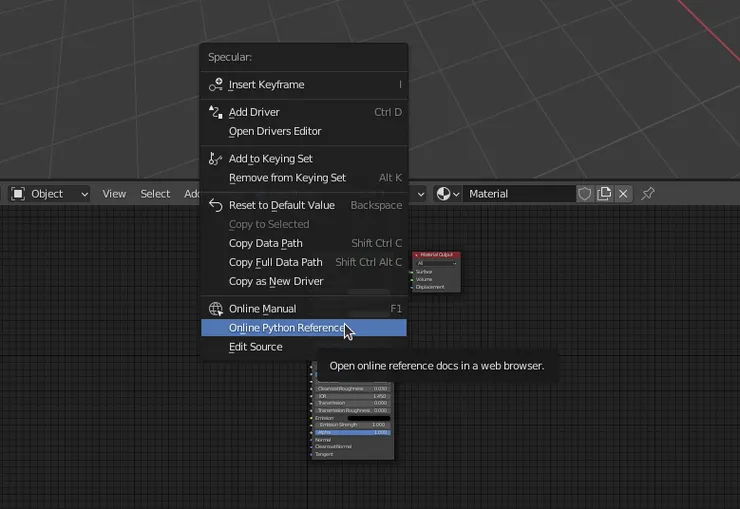
Edit > Preferences... > Interface > Developer ExtrasYou can now right-click on any functionality and click on “Online Python Reference” to access the online Python API documentation.
-
In
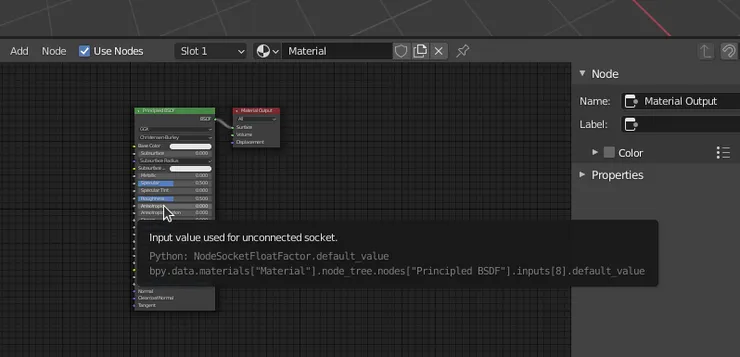
Edit > Preferences... > Interface > Python TooltipsNow, when you hover over any Blender field, information about the related Python property will appear.
Blender’s text editor and integrated console
Blender has two integrated tools with which you can start scripting.
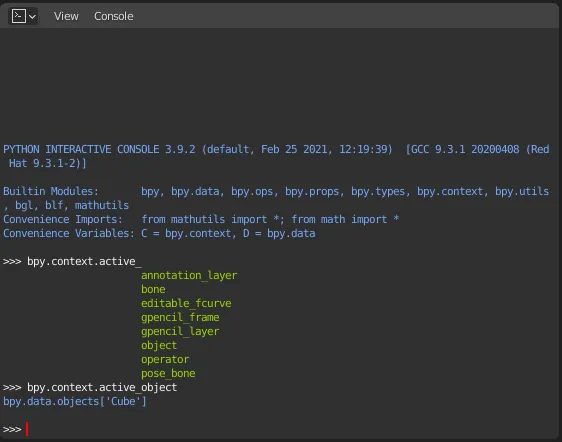
It is basically an IPython console. It is the quickest way to execute small chunks of code and explore the built-in Python in Blender.
Here you can write Python files and test more complex Python code.
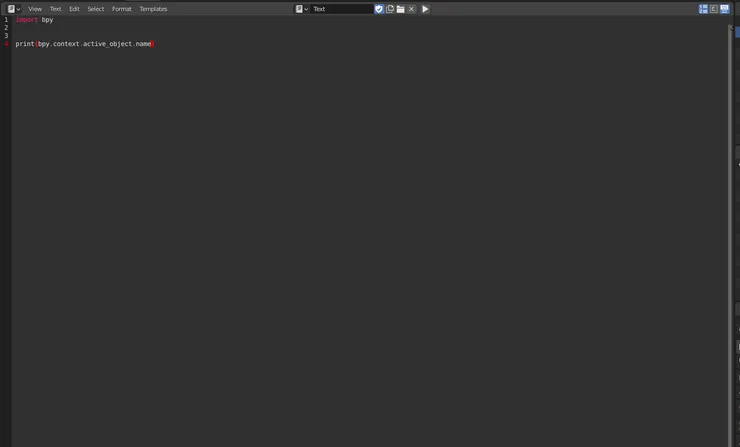
💡Pro tip: the errors and prints are not displayed in Blender. To see them, start Blender from your terminal (by running blender), then the errors and the logs will be visible in the terminal.
These tools are great to explore the API but they are very limited. It is indeed difficult to structure a project with them and you do not have access to your favorite IDE shortcuts and functionality.
Now let’s dive into some better ways to code with Blender.
Build Blender as a Python module
One option is to build bpy from its source code, which you can then use as a basic Python module.
To do so, you will have to:
- Clone the git repository
- Build bpy
- Install it
For more details, follow Blender’s Wiki.
⚠️ The build and installation process is not straightforward and platform dependent.
You can now fully code as you are used to and with all the benefits of an IDE.
Unfortunately, there are some drawbacks:
- You cannot visualize in Blender what your code does (even if you can save your output and reopen it in Blender) and get rapid visual feedback.
- You are limited to features that can run in background mode. The other ones are not accessible (you cannot do OpenGL preview renders, or Eevee rendering for example).
Connect Blender to your IDE
With VSCode
This setup is useful if you want to avoid the drawbacks of the previous solution.
We are going to use the amazing VSCode extension called Blender Development that allows you to run code in Blender from VSCode. Let’s see how to do so.
- Be sure to have VSCode installed with the Python Addon
- Create a Python env that uses the same version as the one available in Blender (for example for Blender 2.93LTS it is Python 3.9.2)
- Make sure that the root path of your project is in the
PYTHONPATH(for example set it from your terminal before opening VSCode or in your VSCode config) - Open the project in VSCode
- Set your Python env as your interpreter in VSCode :
- Hit
ctrl+Pand runPython Select Interpreter
- Hit
- Install the Blender Development extension
- To benefit from the linter and type checking, install the fake-bpy-module in your Python env
- Run
pip install fake-bpy-module-2.93(for blender 2.93)
- Run
Now you can start coding!
In VSCode:
- Hit
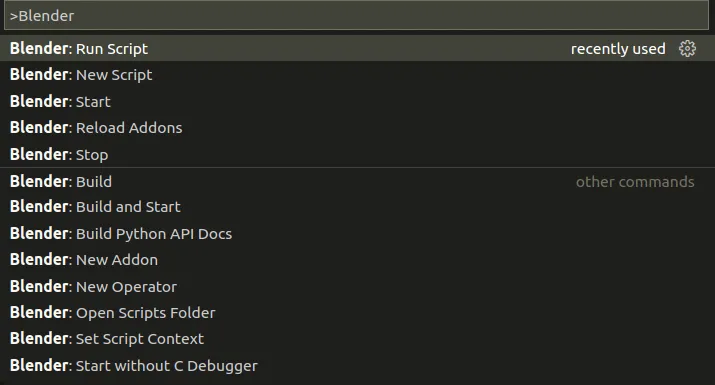
ctrl+Pand runBlender: start. Select the path to your Blender. Blender should open! - Create your script
- Hit
ctrl+Pand runBlender: Run Script. The code is executed in Blender
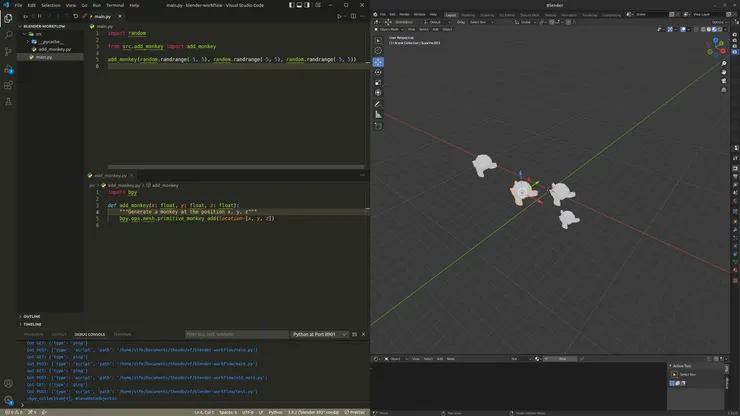
Example:
In the following picture, you can see a basic example where in main.py, we call a function defined in src/add_monkey.py. Each time we run main we generate a new randomly positioned Suzanne.
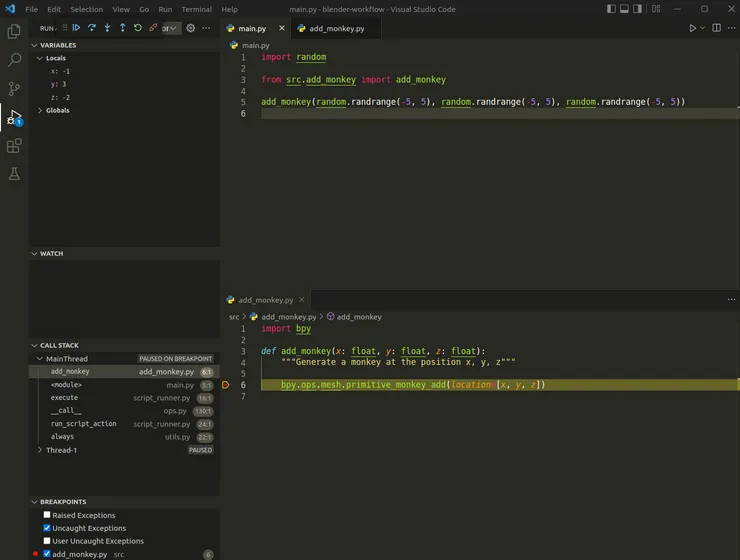
A big advantage of using this setup is that you can use the debugger.
Here is an example with a breakpoint:
As you can see, you can inspect the local variable on the left panel.
Other IDEs
If you don’t want to use VSCode, you can still:
-
Install in your python env fake-bpy-module
-
Develop from your IDE
-
Add the root of your project to the
PYTHONPATH -
To run your code, there are three strategies:
-
Run your script from your terminal
blender -P myscript.py -- arg1 arg2` -
Start Blender from a terminal where you have exported a
PYTHONPATHcontaining the path of your project. In Blender go to the Scripting tab and run:filename = "/path/to/my/script/main.py"; exec(compile(open(filename).read(), filename, "exec"));(source)
-
If your code is structured as a module, start Blender from a terminal where you have exported a
PYTHONPATHcontaining the path of your project and run from the Text Editor:import myscript import importlib importlib.reload(myscript) myscript.main()(source)
Notice the importlib.reload, each time you are going to rerun the script, the update of the code will be taken into account.
You can now develop your script with all your favorite tools and see the results in the Blender UI.
Final Words
I hope that you found a way that suits you well to start an amazing journey as a developer in the Blender world. The possibilities are now limitless.
Thank you to the Blender Discord for their help.
-
